Why Your Sourdough Crust Isn’t Perfect (Yet) - And How to Fix It
Share
Achieving that coveted sourdough crust—crackly, golden, and full of flavor—comes down to mastering a few key techniques, especially when baking in a Dutch oven. It’s not about gimmicks or complexity; it’s about understanding how heat, moisture, and timing all work together. Here’s a practical breakdown to help you get there.
Why the Dutch Oven Matters
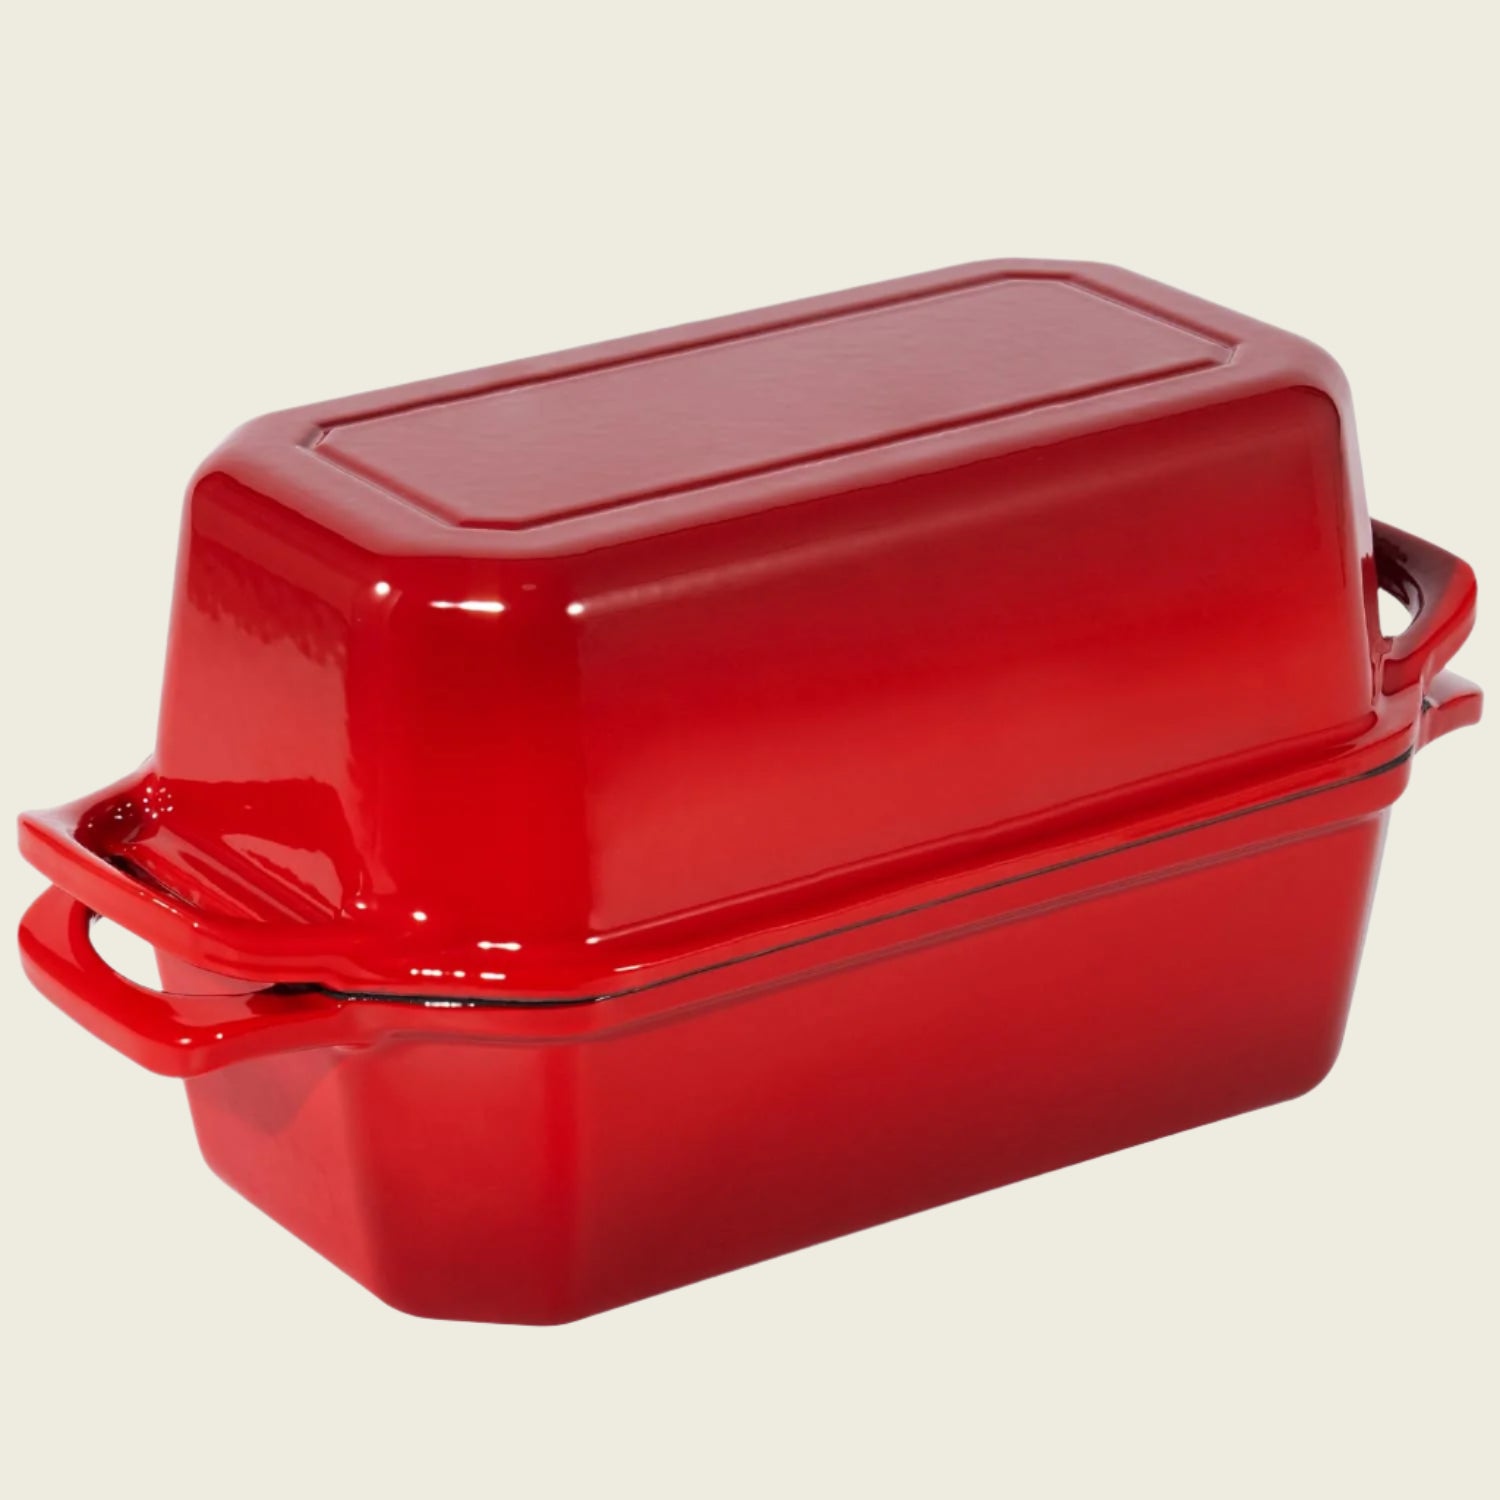
A Dutch oven does more than simply hold your dough. It creates a microclimate—a steam-filled chamber that transforms your loaf in those early minutes of baking. As the dough releases moisture, the heavy lid traps it, creating a humid environment. This steam keeps the crust soft at first, allowing the dough to expand fully before it sets. Once the lid comes off, the magic begins: moisture escapes, and the surface dries just in time for browning to kick in.
Key Tip: Preheat your Dutch oven thoroughly. Aim for 500–550°F (260–288°C). The hotter the vessel, the better the oven spring.
Steam: The Secret Ingredient
The initial high humidity helps the loaf rise dramatically, and that quick expansion is key to a light interior and beautiful ear. But timing matters. Keeping the lid on for the first 20–30 minutes traps the steam right when it’s needed most.
To safely transfer the dough into the scorching pot, parchment paper is essential. It acts both as a sling and a non-stick buffer between the dough and hot metal.
The Crust Transition: When to Remove the Lid
After that steamy start, it’s time for the crust to set and color. Removing the lid allows the surface to dry, setting the stage for the Maillard reaction—a series of browning reactions between sugars and amino acids. This is what gives the crust its deep flavor and rich color.
For extra protection against burning, especially on the bottom of the loaf, placing a baking sheet on the rack below the Dutch oven helps diffuse direct heat from the oven floor.
What Happens Before the Bake Matters Most
The groundwork for a good crust starts well before the dough hits the oven. Bulk fermentation is critical. This is when the dough develops flavor, structure, and gas. Get it right, and the crust benefits too.
Overproofed dough can lead to a flat loaf with a pale, lifeless crust. Underproofed dough lacks the gas and strength for a full rise. Time is a factor, but not the only one—monitor dough temperature and watch for volume increase. Warmer doughs ferment faster and may need less rise; cooler doughs take longer.
Shaping, Scoring, and Surface Tension
Shaping isn’t just about the inside. Creating surface tension gives the loaf structural integrity. A taut outer layer encourages a strong, upward oven spring and a more even crust. Techniques that stretch the surface—like the boule or bâtard rollup—are especially helpful.
Scoring the dough is your way of controlling how the crust opens up. A deep, deliberate slash tells the loaf where to expand. This prevents random blowouts and encourages the development of that signature ear.
Some bakers spritz the dough with water just before scoring. This adds surface moisture, delaying the crust’s setting for a few extra seconds—just enough for an even better spring and a slightly thinner, crispier crust.
Temperature and Time
Start hot to maximize oven spring, then lower the temperature after removing the lid. A typical approach is beginning at 500°F (260°C), then reducing to 400–450°F (204–230°C) for the remainder of the bake. A slightly longer bake at the lower end of this range can lead to a thicker, darker crust—perfect for those who like more chew and deep flavor.
Flour Makes a Difference
Finally, the flour you choose lays the foundation. Bread flour, with its higher protein content, provides the gluten strength needed for both structure and crust development. All-purpose flour can work, but it typically won’t yield the same oven spring or resilience in the crust.
Even among bread flours, you’ll notice subtle differences—some produce more blistering, others a smoother finish. Once you’ve nailed the basics, there’s plenty of room to explore.
Small Changes, Big Results
Improving your sourdough crust is often about isolating just one element and experimenting. Try preheating longer. Adjust your scoring. Switch up your final bake temperature. Over time, these tweaks add up—and each loaf becomes part of a learning process.
Crust mastery isn't about perfection on the first try. It’s about curiosity, observation, and the willingness to make small adjustments. With each bake, you’ll gain a better feel for how your dough responds and how your oven behaves—and soon enough, your sourdough crust will be everything you’ve been aiming for.
